Add a Signature to Outlook (PC)
On the Home tab, choose New Email.
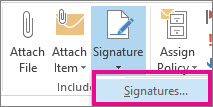
On the Message tab, in the Include group, choose Signature > Signatures.
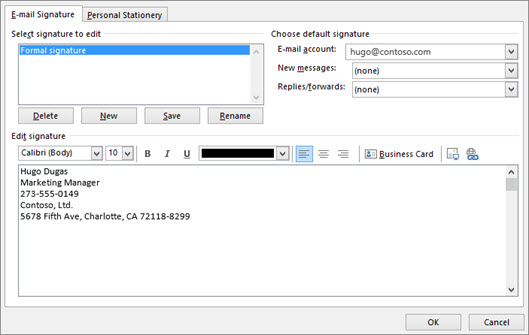
Under Select signature to edit, choose New, and in the New Signature dialog box, type a name for the signature.
Under Choose default signature, do the following:
In the E-mail account list, choose an email account to associate with the signature.
In the New messages list, choose the signature that you want to be added automatically to all new email messages. If you don't want to auto sign your email messages, accept the default option of (none).
In the Replies/forwards list, choose the signature that you want to be added automatically (auto sign) when you reply to or forward messages. Otherwise, accept the default option of (none).
Please configure the web part properties!
Email Signature with Logo:
Email Signature without Logo:
The University of Findlay
Fill out the form above and copy one of the two generated signatures. Under Edit signature, paste the signature, and then choose OK.
Add a Signature to Outlook (Mac)
On the Outlook menu, click Preferences.
Under E-mail, click Signatures  .
.
Click Add  .
.
Double-click Untitled, and then type a name for the signature. This name does not appear in the signature in your messages; it is only for your reference.
Fill out the form above and copy one of the two generated signatures. In the right pane, paste the signature.
Close the Signatures dialog box.
On the Outlook menu, click Preferences.
Under E-mail, click Signatures .
Click Default Signatures.
Under Account, select the account for which you want to set a default signature.
Under Default signature, click the pop-up menu in the selected row, and then click a signature name.